
目录
如何创建水控制阀 SolidWorks 装配体教程
在 SolidWorks 中创建水控制阀装配体可能是一项复杂但有益的任务。本教程将指导您逐步完成在 SolidWorks 中设计和组装水控制阀的过程。在我们深入了解细节之前,有必要了解 SolidWorks 中精确建模和装配技术的重要性,以确保最终设计的功能和准确性。
首先,启动 SolidWorks 并创建一个新的装配文件。将水控制阀的各个组件(例如阀体、阀盖、阀杆、球和手柄)导入装配工作区。根据设计规范相对定位每个组件。利用 SolidWorks 中的配合功能建立零部件之间的关系,确保正确的对齐和移动。
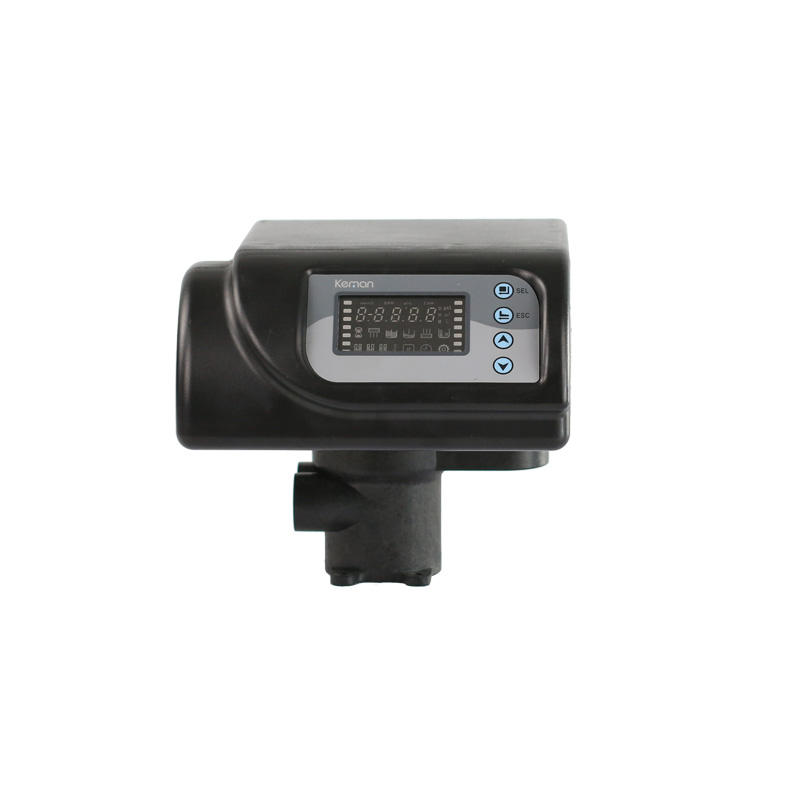
| 型号 | 中心管 | 排水 | 盐水罐连接器 | 基地 | 最大功率 | Operating temperature |
| 2510 | 1.05″ (1″)O.D. | 1/2″O.D. | 1600-3/8″ | 2-1/2″-8NPSM | 72W | 1℃-43℃ |
| 1650-3/8″ |
Next, focus on creating the necessary connections between the components to simulate the functionality of the water control valve. Use mates such as coincident, concentric, and distance to define the interaction between the stem, ball, and handle. Pay close attention to the degrees of freedom of each component to prevent over-constraining the assembly.
Once the basic structure of the water control valve assembly is in place, proceed to add details such as threads, Seals, and labels to enhance the realism of the design. Utilize SolidWorks features like cosmetic threads, decals, and annotations to add these finer details accurately. Remember that attention to detail is crucial in creating a realistic and functional assembly model.
After finalizing the design and detailing of the water control valve assembly, perform a thorough check to ensure that all components are correctly positioned and mated. Use the interference detection tool in SolidWorks to identify any potential clashes or interferences between components that may hinder the functionality of the valve.
To further enhance the visualization of the water control valve assembly, apply realistic materials and textures to the components. Experiment with different appearances and finishes to achieve a lifelike representation of the valve. This step is essential for presentations and demonstrations of the design to clients or stakeholders.
Lastly, create exploded views and animations of the water control valve assembly to showcase the assembly process and functionality of the valve. Utilize SolidWorks tools like exploded view and motion study to create dynamic presentations that highlight the inner workings of the valve.
In conclusion, creating a water control valve assembly in SolidWorks requires attention to detail, precise modeling techniques, and an understanding of assembly relationships. By following this tutorial and implementing the suggested tips, you can design a realistic and functional water control valve assembly in SolidWorks. Remember to practice patience and persistence as you navigate through the intricacies of SolidWorks to create a professional-quality assembly model.