
Table of Contents
Proper Steps for Removing Water Softener Valve from Tank
Water Softeners are essential appliances in many households, as they help to remove Minerals such as calcium and magnesium from water, which can cause limescale buildup in pipes and appliances. Over time, the valve on a water softener may need to be replaced or repaired. In order to do this, it is necessary to remove the valve from the tank. This process can be a bit tricky, but with the right tools and knowledge, it can be done efficiently and effectively.
| Model | Central tube | Drain | Brine tank connector | Base | Maximum power | Operating temperature\u00a0 |
| 9500 | 1.9″(1.5″) O.D. | 1″NPTF | 3/8″& 1/2″ | 4″-8UN | 8.9W | 1\u2103-43\u2103 |
The first step in removing a water softener valve from the tank is to shut off the water supply to the softener. This can usually be done by turning off the main water supply valve to the house. Once the water supply is turned off, it is important to relieve any pressure in the tank by opening a faucet or valve downstream from the softener.
Next, it is important to disconnect the power supply to the water softener. This can usually be done by unplugging the unit from the wall. It is important to ensure that the power is completely disconnected before proceeding with the removal of the valve.
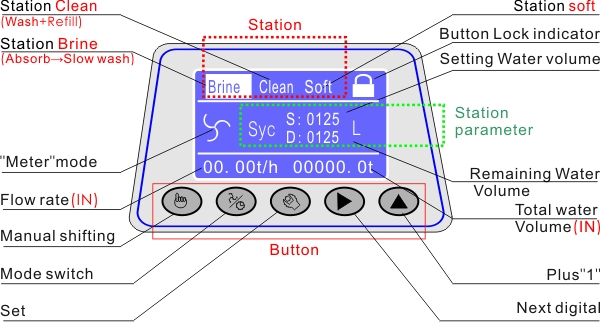
Once the water supply and power are turned off, the next step is to remove the control head from the tank. This can usually be done by unscrewing the Bolts or Screws that hold the control head in place. It is important to be careful when removing the control head, as there may be water or debris inside the tank that could spill out.
After the control head is removed, the next step is to disconnect the valve from the tank. This can usually be done by unscrewing the bolts or screws that hold the valve in place. It is important to be gentle when removing the valve, as it may be fragile and easily damaged.
Once the valve is removed from the tank, it is important to inspect it for any damage or wear. If the valve is damaged, it may need to be replaced. If the valve is in good condition, it can be reinstalled in the tank.
Before reinstalling the valve, it is important to clean the tank thoroughly. This can be done by flushing the tank with clean water and scrubbing any debris or buildup from the walls of the tank. It is important to ensure that the tank is completely clean before reinstalling the valve.
Once the tank is clean, the valve can be reinstalled by following the reverse of the removal process. It is important to ensure that the valve is securely attached to the tank and that all bolts or screws are tightened properly.
In conclusion, removing a water softener valve from a tank can be a challenging task, but with the right tools and knowledge, it can be done efficiently and effectively. By following the proper steps outlined above, you can ensure that your water softener continues to function properly for years to come.
Benefits of Removing Water Softener Valve for Maintenance and Repair
Water softeners are essential appliances in many households, helping to remove minerals such as calcium and magnesium from water to prevent scale buildup in pipes and appliances. Over time, however, these devices may require maintenance or repair to ensure they continue to function effectively. One common task that may need to be performed is removing the water softener valve from the tank. This process can be beneficial for a number of reasons.
One of the primary benefits of removing the water softener valve is that it allows for easier access to the internal components of the device. By removing the valve, you can more easily inspect and clean the resin tank, brine tank, and other parts of the water softener. This can help to ensure that the device is operating at peak efficiency and extend its lifespan.
Additionally, removing the water softener valve can make it easier to perform repairs on the device. If you encounter a problem with your water softener, such as a leak or a malfunctioning valve, being able to easily access the internal components can make it simpler to diagnose and fix the issue. This can save you time and money on repairs, as well as prevent further damage to your water softener.
Another benefit of removing the water softener valve is that it allows for more thorough cleaning of the device. Over time, mineral buildup and other debris can accumulate in the resin tank and other parts of the water softener, reducing its effectiveness. By removing the valve and thoroughly cleaning the internal components, you can help to restore the device to optimal performance.
When removing the water softener valve, it is important to follow the manufacturer’s instructions carefully to avoid damaging the device. In general, the process involves shutting off the water supply to the softener, draining the tank, and disconnecting the valve from the tank. It is also important to properly seal the tank after removing the valve to prevent leaks and ensure that the device continues to function properly.
In conclusion, removing the water softener valve from the tank can offer a number of benefits for maintenance and repair. By allowing for easier access to the internal components of the device, it can make it simpler to clean, inspect, and repair the water softener. This can help to ensure that the device continues to operate effectively and efficiently, saving you time and money on repairs in the long run. If you are experiencing issues with your water softener or simply want to ensure that it is functioning at its best, consider removing the valve for maintenance and repair.