
Table of Contents
How to Customize a Computer Crossover Cable:
How to Customize a Computer Crossover Cable:
| No. | Commodity Name |
| 1 | Jacket Lan Cable |
In today’s rapidly evolving technological landscape, having a reliable and efficient computer network is essential for businesses and individuals alike. Whether you are setting up a small office network or simply connecting devices at home, the quality of your network cables plays a crucial role in ensuring smooth and uninterrupted data transmission. Among the various types of cables available, the computer crossover cable stands out for its versatility and functionality. In this article, we will delve into the process of customizing a computer crossover cable, exploring the benefits it offers and the steps involved in its customization.
To begin, let us first understand what a computer crossover cable is and how it differs from a regular Ethernet cable. A crossover cable is a specialized type of Ethernet cable used to directly connect two devices of the same type, such as two computers or two Switches, without the need for an intermediary device like a router. Unlike a standard Ethernet cable, which uses a straight-through wiring configuration, a crossover cable has certain wire pairs crossed over, allowing the devices to communicate effectively.
Now, let’s move on to the customization process itself. Customizing a computer crossover cable involves modifying the existing cable to suit your specific requirements. This customization can range from simple cosmetic changes to more advanced alterations, depending on your needs and expertise. Here are the general steps involved in customizing a computer crossover cable:
1. Gather the necessary tools and materials: Before you begin, ensure that you have all the tools and materials required for the customization process. This may include wire cutters, a cable crimper, RJ-45 Connectors, and heat shrink tubing, among others.
2. Strip the cable: Start by stripping the outer sheath of the cable to expose the individual wires inside. Be careful not to cut or damage the wires during this process.
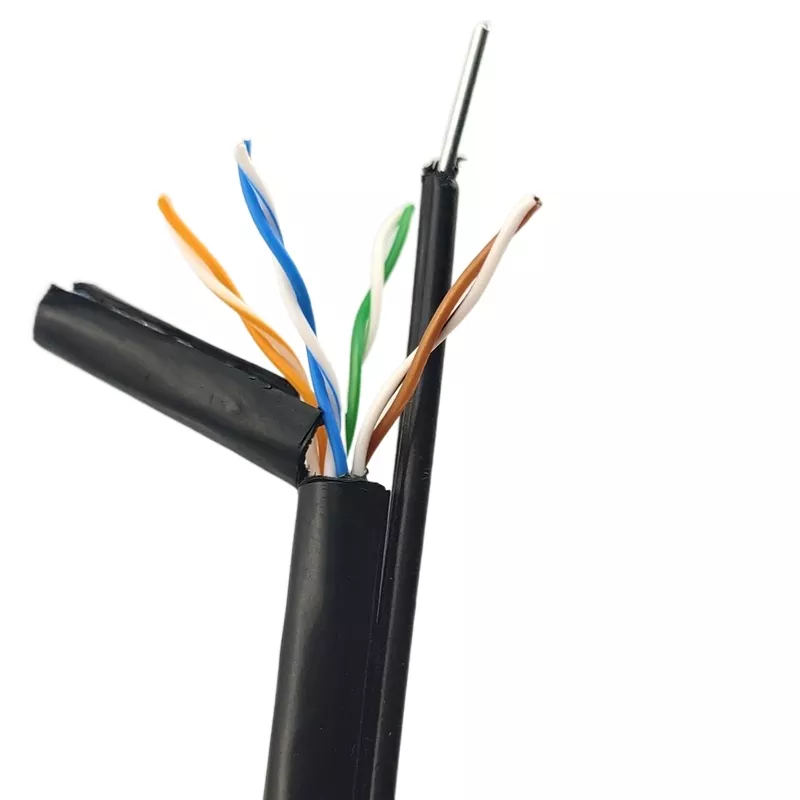
3. Identify and separate the wire pairs: Once the wires are exposed, identify and separate the wire pairs according to the TIA/EIA-568-B wiring standard. This standard dictates the color-coded arrangement of the wires for proper communication.
4. Cross over the wire pairs: To create a crossover cable, cross over the transmit and receive wire pairs at one end of the cable. This ensures that the transmit signals from one device are correctly received by the other device, and vice versa.
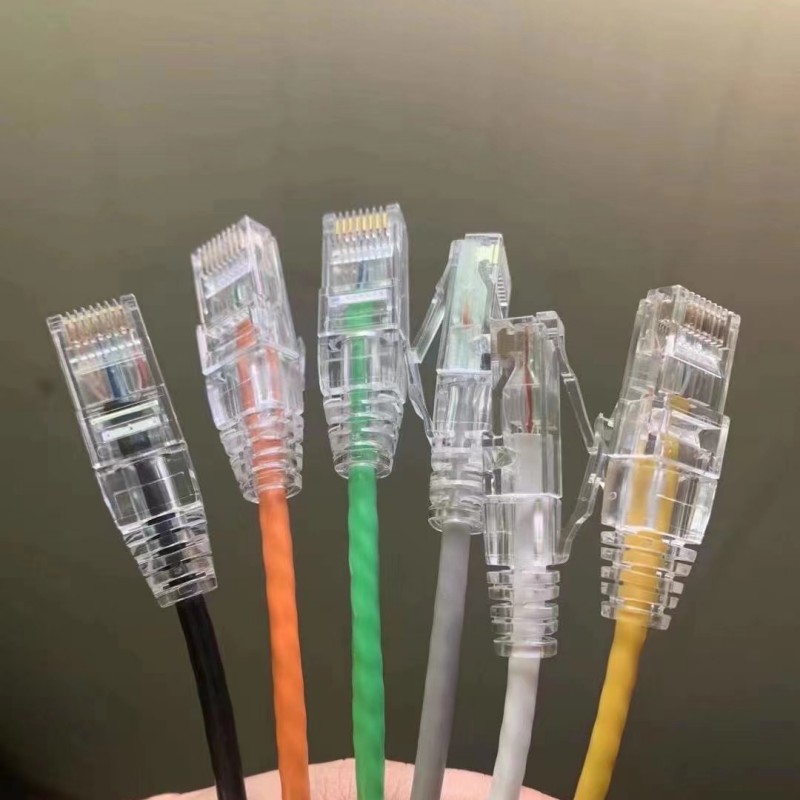
5. Terminate the cable: After crossing over the wire pairs, terminate the cable by attaching RJ-45 connectors to both ends. Use a cable crimper to secure the connectors properly and ensure a reliable connection.
6. Test the cable: Once the customization is complete, it is crucial to test the cable’s functionality. Use a cable tester or connect the cable between two devices to
| Number | Name |
| 1 | patch cable wires |